A while ago, Mircosoft introduced an extension for using Dependency Injection in .NET. By adding this extension to your application, you do not need a 3rd party package. This works perfectly for the .NET Core version and you can add the NuGet package to your solution. But what if you want to use is in a .NET Framework application? You can add the package to your solution using Nuget, but out of the box, you can not use it.
Extension
In this case, I’m using Visual Studio 2019, so in your solution, go to Manage Nuget Packages... In the search box type Microsoft.Extensions.DependencyInjection, next select the package from the list and click the Install button. Adding the package to your .NET project.

Configuring Dependency Injection
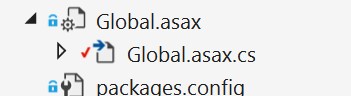
After adding the Nuget Package to the solution, we are not able to use it yet. So, we need to configure the application to use the extension because unlike with .NET Core, this is not out of the box functionality. Locate the Global.Asax.cs in your project.
Dependency Injection needs an IServiceProvider for retrieving services. We also need a ServiceCollection, which is the implementation of the IServiceCollection. In the MVCApplication class configure two different properties one public and one private
    public IServiceProvider ServiceProvider { get; set; }
    private ServiceCollection Services { get; set; }
Next, we need to add our services to the ServiceCollection and build the collection to create the ServiceProvider. In the method Application_Start() add the following lines of code below the already existing code.
    Services = new ServiceCollection();
    Services.AddTransient<IRepository, Repository>();
    Services.AddTransient(typeof(HomeController));
    ServiceProvider = Services.BuildServiceProvider();
First, we build a new ServiceCollection which we need to add to our services. Next up, we need to add our services to the service collection; I’m using an interface implementation of a repository, and because my project is an MVC application, I also need to add (any) controller to the service collection. Adding the controller to the service collection makes it possible to use Dependency Injection within the controller. If you do not add them to the collection, the application fails at runtime. After adding all services to the service collection, we need to build a service provider. We need this service provider to resolve our services.
Dependency Resolver
In a .NET Framework application, we need to manually implement a class using the IDependencyResolver interface. This interface implements two methods, one for returning just one object and one for multiple services.
    object GetService(Type serviceType);
    IEnumerable<object> GetServices(Type serviceType);
Add a new class to your project and call it something like DefaultDependencyResolver. Implement the IDependencyResolver interface. Your code looks something like this.
    public class DefaultDependencyResolver : IDependencyResolver
    {

    }
Because of the interface implementation, we need to add the two methods, but we also need the IServiceProvider created earlier. Add a constructor with one parameter expecting the IServiceProvider and add a private read-only property to the class to store the IServiceProvider. The implementation of your class looks like this.
    public class DefaultDependencyResolver : IDependencyResolver
    {
        private readonly IServiceProvider serviceProvider;
        public DefaultDependencyResolver(IServiceProvider serviceProvider)
        {
            this.serviceProvider = serviceProvider;
        }
    }
Now that we have our service provider, we can implement the two methods defined in the interface. The service provider provides us with the possibility to extract a service or multiple services from the service collection. The implementation of the two methods is pretty straightforward, add both these methods to the DefaultDependencyResolver class.
    public object GetService(Type serviceType)
    {
        return this.serviceProvider.GetService(serviceType);
    }

    public IEnumerable<object> GetServices(Type serviceType)
    {
        return this.serviceProvider.GetServices(serviceType);
    }
The last step we need to implement is to use the just created IDependencyResolver implementation in our application. To do this, we need to add two more lines to the Application_Start() method after the code building the service provider. First, we need to create a new instance of the DefaultDependencyResolver class we just created. Next, we need to use this class as our default Dependency Injection container. So add the next two lines of code to the method.
    var defaultResolver = new DefaultDependencyResolver(ServiceProvider);
    DependencyResolver.SetResolver(defaultResolver);
The DependencyResolver.SetResolver method is defined in the namespace System.Web.Mvc and can be use to implement a dependency resolver. Now we are able to use Dependency Injection in our .NET Framework application.
Implementation
We can change the code of our HomeController, so it uses dependency injection. Navigate to the controller and add a constructor expecting one parameter with an implementation of the IRepository interface.
    private readonly IRepository Repository;

    public HomeController(IRepository Repository)
    {
        this.Repository = Repository;
    }
Managed Identity App Service and Key vault
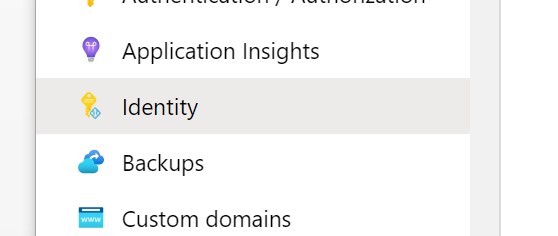
Our application runs in an Azure App Service and the problem we are trying to solve is we need to store the secrets for connecting to an API. We do not want to store the secrets as plain text in the configuration files like web.config. Azure provides us with the opportunity to store secrets in the Azure Key Vault, but we still need to access the Key Vault. To implement the Key vault without storing keys, you can use Managed Identity. To use Managed Identity go to Azure Portal and navigate to your App Service plan, locate the Identity option on the menu.
Navigate to the System Identity tab and switch the status toggle button to “On”.
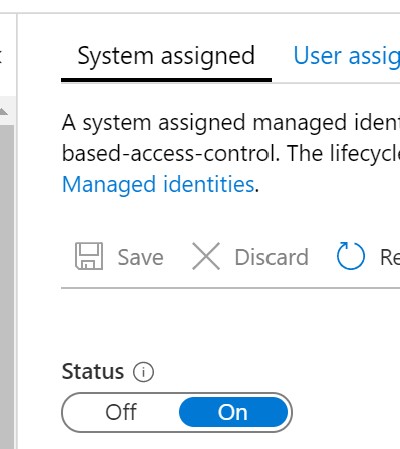
This adds a system identity to your Azure Active Directory, enabling you to grant access for this identity to your Key Vault. Go to the Key Vault in the Azure Portal and point to the Access Control menu item.

Navigate to the tab Role Assignments, click the Add button, and Add Role Assignment. In the blade, select the role you need for your application to access the Key Vault. In the Select textbox, fill in the name of the identity you create (it has probably the same name as the app service). Click the “Save” button to grant access to the Key Vault.
Before we can access the secrets stored in the Key Vault, we need to grant permissions to the secrets within the Key vault. Navigate to the Access Policies menu item and click on the Add Access policy link.
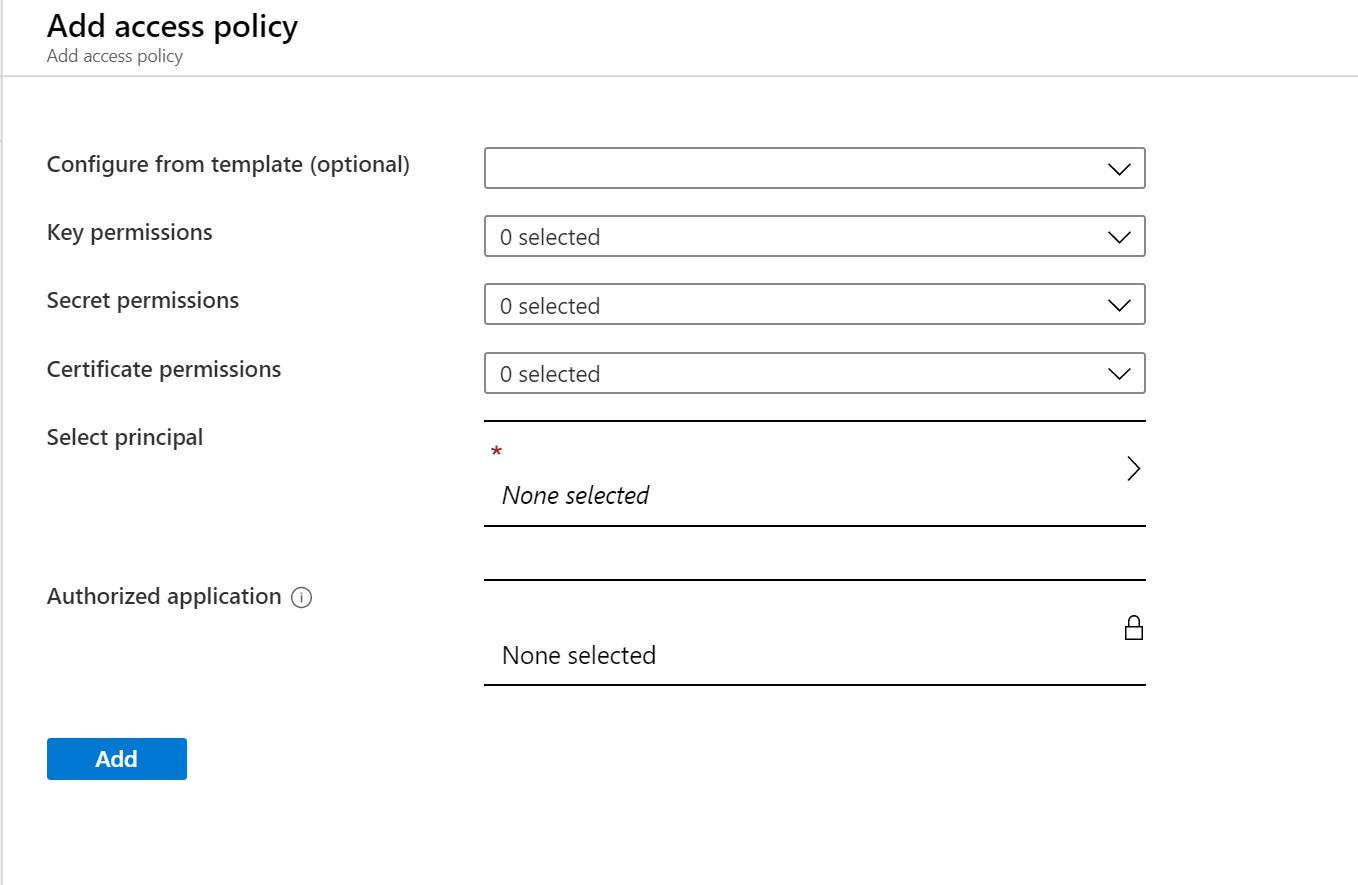
Select the permissions you need for your application for keys, secrets, or certificates and click on Select Principle. On the blade, select the service principle connected to the App Service (the one you just created). Click Select to add the selected user, next click “Add” to grant the permissions to the user for accessing the key vault.
When you deploy the application to the App Service, it runs with the permissions of the managed identity, making sure you can access the configuration in the key vault.
Using the Azure Key vault
Now we are ready to use the Azure Key vault combined with the dependency injection we just added to our code. Let’s go back to our MVC solution and open the Global.Asax.cs file. Point to the Application_Start() method. Here we need to add a few lines of code to configure the configuration and add it to our service collection.
We store our not less important configuration in a file called appsettings.json and the secrets in our created Key Vault. Remember we also added an identity to our Azure App Service. The first thing we need to do is make sure we get a token to access the key vault using the managed identity.
    var azureServiceTokenProvider = new AzureServiceTokenProvider();
    var keyVaultClient = new KeyVaultClient(
        new KeyVaultClient.AuthenticationCallback(
                azureServiceTokenProvider.KeyVaultTokenCallback));
The AzureServiceTokenProvider without a connection string tries to get a token using the Managed identity from the app service. To access the Key Vault, we create a new KeyVaultClient and need to token from the managed identity to get the required permissions.
Of course, we need to add the configuration to our application. To do so we need to implement an instance of the interface IConfigurationRoot. We do this by adding a ConfigurationBuilder and add a JSON file as well as the key vault.
Before you can access the Key Vault, you need to add two NuGet packages to your project Microsoft.Azure.KeyVault and Microsoft.Azure.Services.AppAuthentication. Add the following lines of code to the Application_Start() method before the lines for creating a new service collection.
    IConfigurationRoot configuration = new ConfigurationBuilder()
        .AddJsonFile("appsettings.json", optional: true)
        .AddAzureKeyVault($"https://myKeyVaultName.vault.azure.net/",
                            keyVaultClient,
                            new DefaultKeyVaultSecretManager())
        .Build();
Make sure you add the .Build line or you will not be able to use your configuration; it builds your configuration adding all the key and secrets from the file and the key vault.
The only thing we need to do is add the IConfiguration to the service collection using the configuration variable we just created. Add one more line to the method just below creating a new service collection, this adds the configuration making sure you can use it anywhere you like using Dependency Injection
Services.AddSingleton<IConfiguration>(configuration);
You can use the configuration the same as the repository we added to the controller. Because of the Dependency Injection, the configuration resolves automatically.
    private readonly IConfiguration configuration;
    public Repository(IConfiguration configuration)
    {
        this.configuration = configuration;
    }
We create a configuration using the configuration builder; there is no distinct for the application between the appsettings.json file and the key vault. We can just read any value from the configuration using the following line of code.
string clientSecret = configuration.GetValue<string>("ClientSecret");
If the configuration sources contain the same keys like for example, SQLConnectionString the GetValue() method returns the one from the last source we added; in our case, this would be the one from the Azure Key Vault.
That is it for now!